
W.I.P. 1
We are required to do a 3D Models of a buidling. My Studio 2 final projects was chose as the building this project. A retreat house that is sited at Cape Rachado, a tropical rainforest area near to the sea. It's a house designed for an introvert ballet dancer.

AutoCADing. Tracing plans and elevation into autocad.

Rhino Modeling.
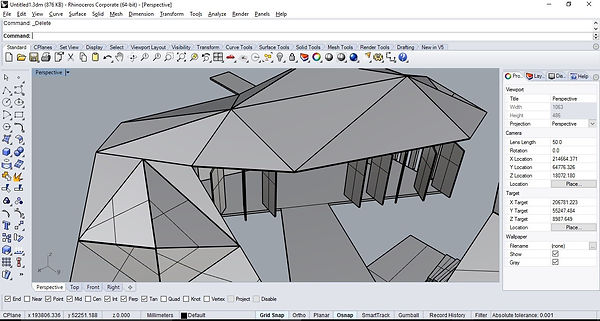
Rhino was chooosen for modeling since i am more familiar with this program. Walls, Mirrors, Construction Details, Glazing, Floor slab were extruded based on the designated dimensions from the plan that is exported from AutoCad by using command "ExtrudeCrv".

Rhino Modeling.
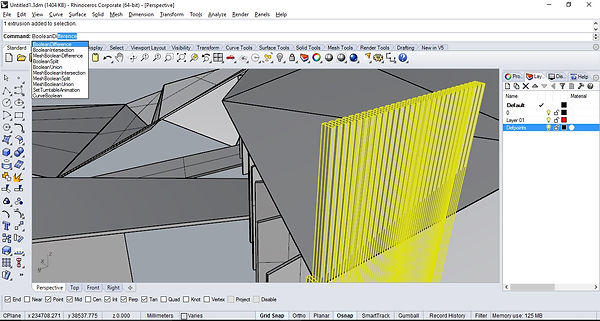
Window frames were build using offset, extrudecrv, and boolean difference.

Rhino Modeling.
overall progress (10/4/2016)
Rhino Modeling.
Figuring out building up stairs. The stairs was drawn first then elevated, and placed at the correct position according to elevation.

Rhino Modeling.
after modification.
Rhino Modeling.
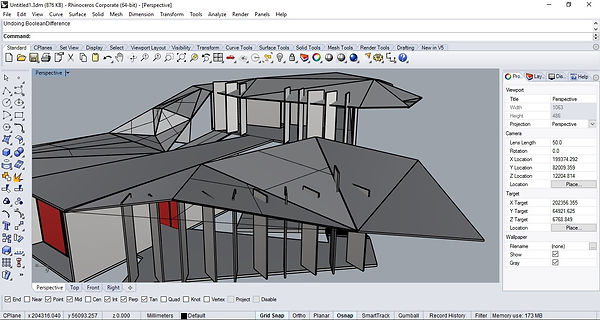
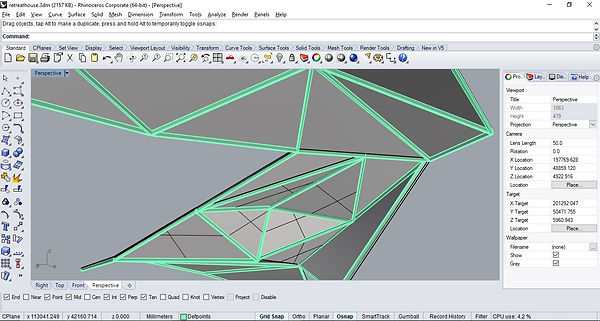
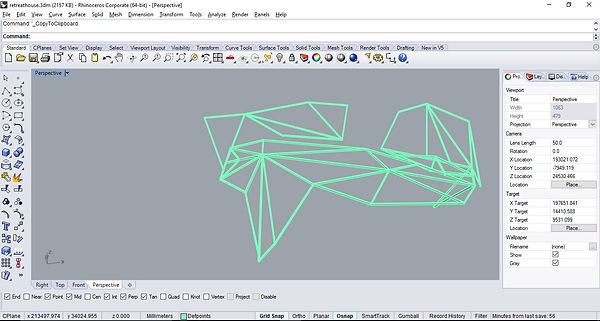
Building different level of panels of roofs by doing a base plan then elevate lines according to the original height.
Rhino Modeling.
Result after extruding the roofs.

Rhino Modeling.
Using the same method on the roofs on the ramp part.

Rhino Modeling.
Using the same method on the roofs on the ramp part.

Rhino Modeling.
overall progress (17/4/2016)
Rhino Modeling.
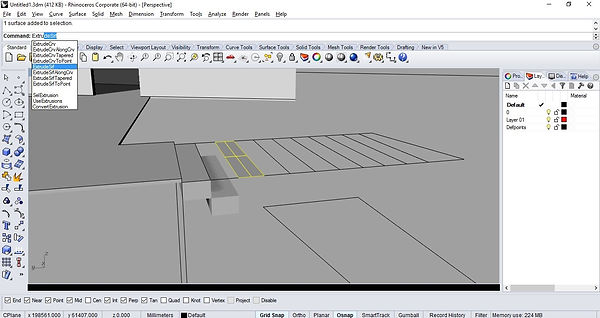
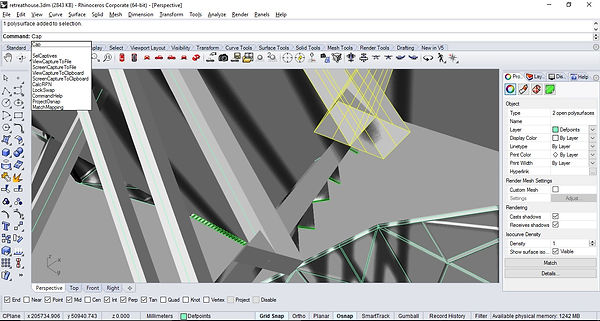
Now, using boolean difference to cut out excess louver part that over extrude to the roof.

Rhino Modeling.
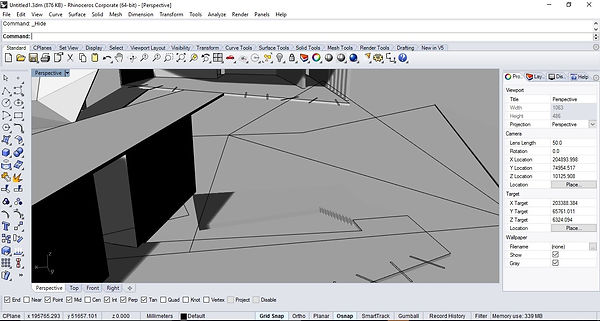
Object to cut off was selected.. enter... and choose th roofs.. and cut off the excess parts.

Rhino Modeling.
Object to cut off was selected.. enter... and choose th roofs.. and cut off the excess parts.

Rhino Modeling.
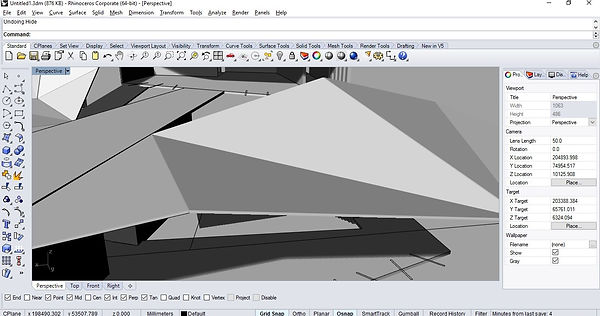
look nice.


Rhino Modeling.
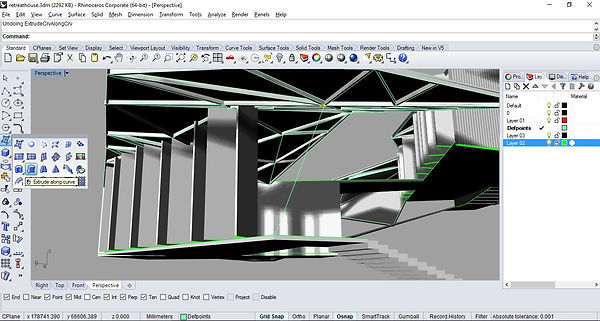
Doing construction details. Command "extrudecrv","trim", "extrude along curve" and another layer was created specially for construction details.


Rhino Modeling.
Roof construction details done.

Rhino Modeling.
Doing construction details for columns to suport the roof. Due to my retreat house was designed to build on the side of the hill. Supports of columnns were needed and build in 3D model too.
Rhino Modeling.
By creating a closed curve for columns, another line was apply, by using "extrude along curve", the column was done.


Rhino Modeling.
More columns were done by using the same method.

Rhino Modeling.
Command "cap" was used to cap hollow columns that supposed to be solid.


Rhino Modeling.
Columns....

Rhino Modeling.
overall progress (24/4/2016)
Rhino Modeling.
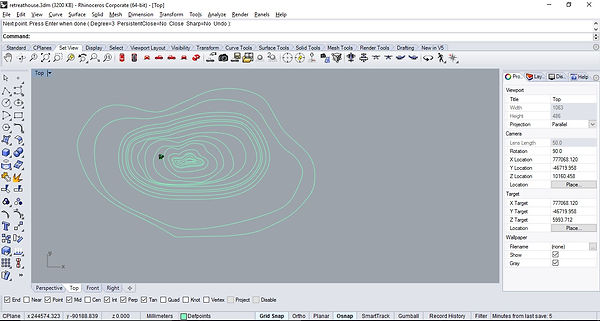
Making contour by first drawing the contour lines, offset was used for faster drawing the lines. Each contour lines were elevated to its certain heights, "patch" commands was used in making contour.


Rhino Modeling.
"Drap surface over object" was used to smooth the curves.

Rhino Modeling.
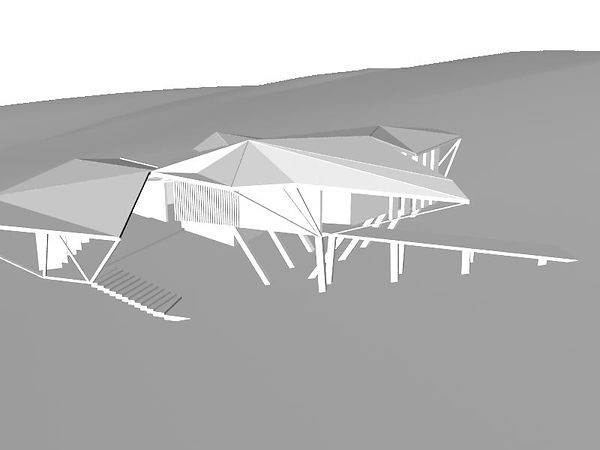
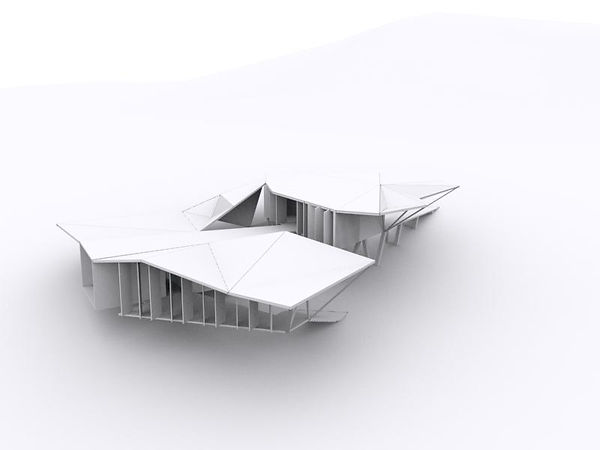
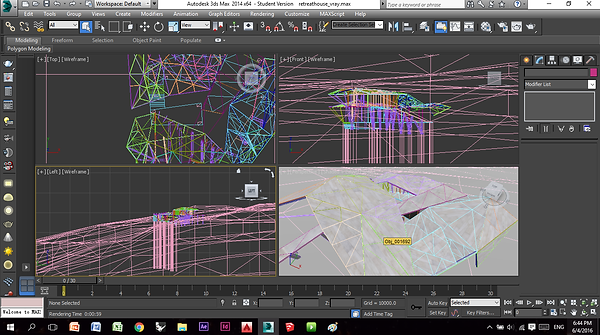
Finally the house was plaed in its original space, waiting to be render after exporting to 3Ds format, then import into 3DMAX for render.

3DMAX rendering.
Personalized settings to 600 X 800 width height to suit submission requirement.
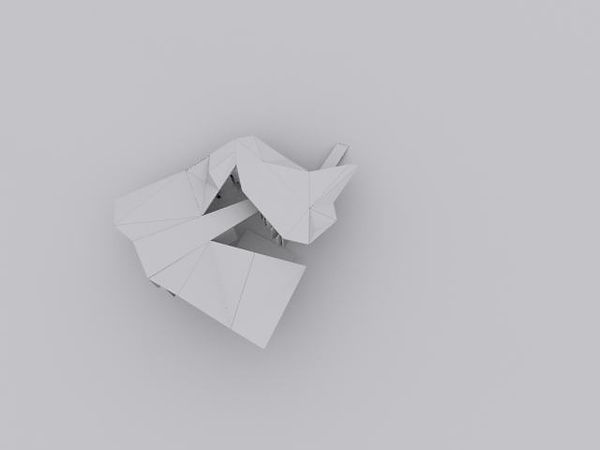
scene1
scene1

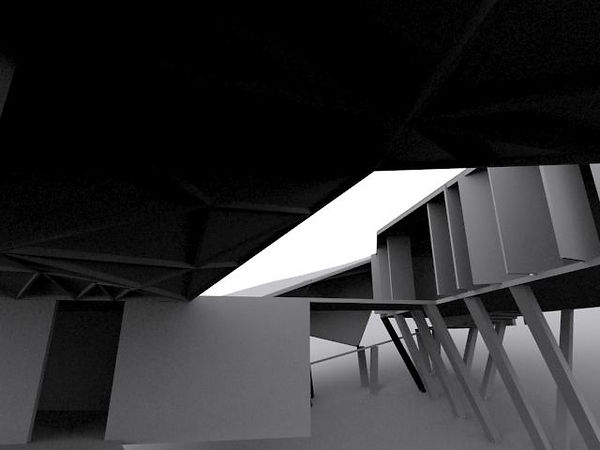
scene2
scene3


scene4

scene5
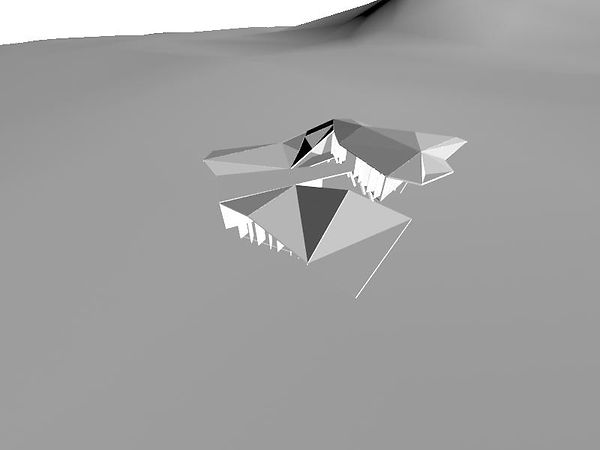
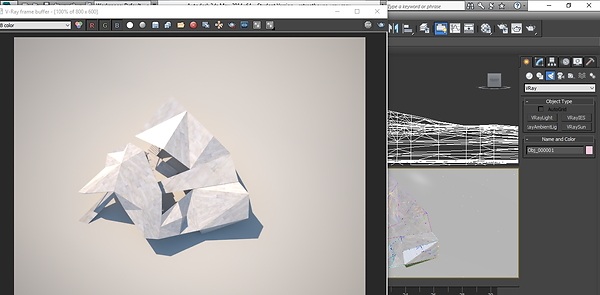
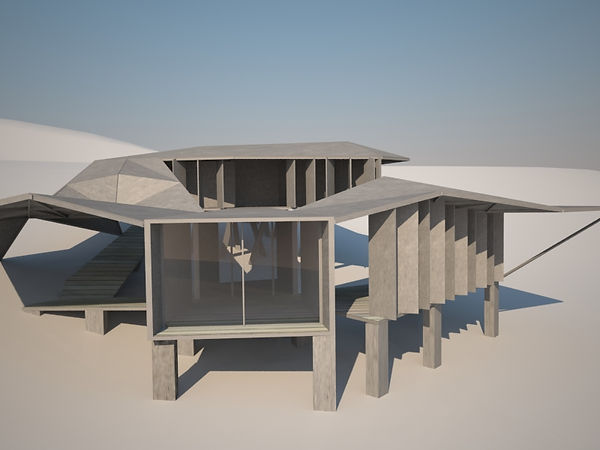
extra render starting from below.3D Model is test rendered by applying normal diffused materials from 3DSMax material library.


W.I.P. 2
Project2A require us to render and post-product our model that done in WIP1.
V-ray was chosen as the renderer engine since i found out that vray have better image qualities.
assigning renderer.......


GLOBAL ILUMINATION was enable for higher quality of image rendered .
W.I.P. 2
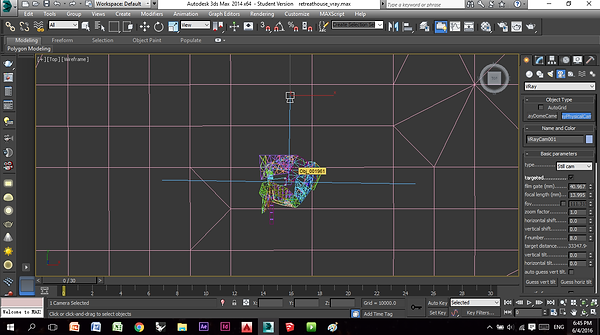

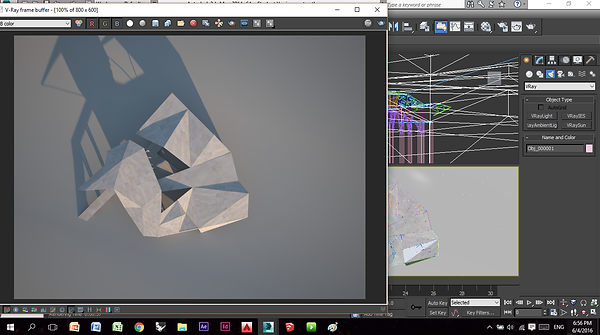
VRAY-SUN & VRAY-DIRECT CAMERA(S) were assigned.


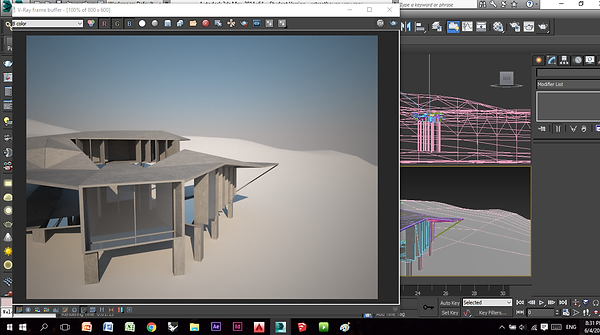
test render, and it took me such a long time -.-


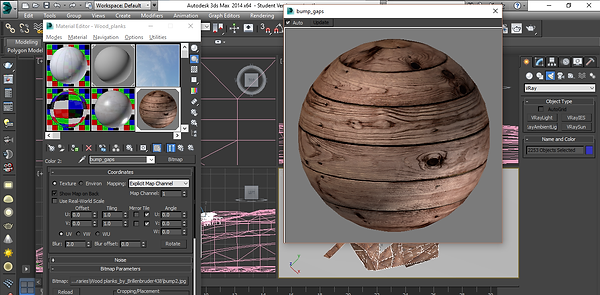


applying vray materials downloaded online and some adjusted by myself... uvw map was used to adjust the proportion of the image that imported into bitmap, so it would looks more realistic and in ratio.
- choosing Bitmap and select the specific images, bump is also applied to optimize the
appearance of the texture.
- Bump follows the size of diffused bitmap.
- for the glass, the diffuse color is changed to white color, Reflect is changed to light
grey color(white would give ernomous reflection like mirror), Refract is changed
to white color so to give a transparent effect.


different materials applied...(windows, window frame, etc....)
After assigning the material to the selected object, on the modifier list search and click on UVW Map. It allows us to change the length, width of the texture of the material.

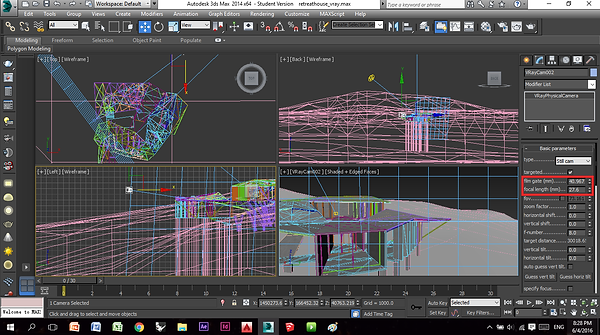


adjusting views using focal lense. Vegetation were added by exporting 3D trees into the current scene.


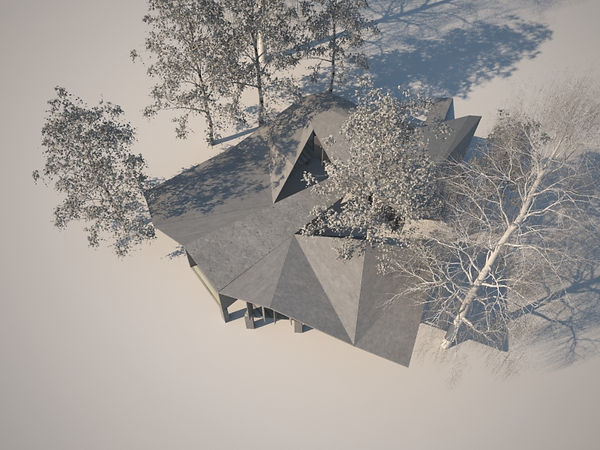


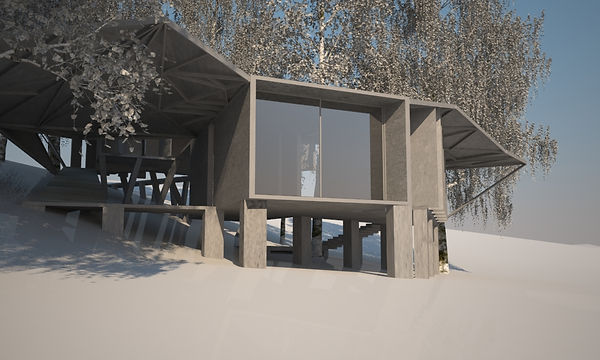


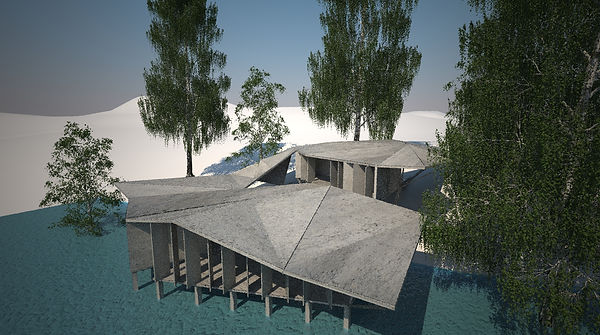
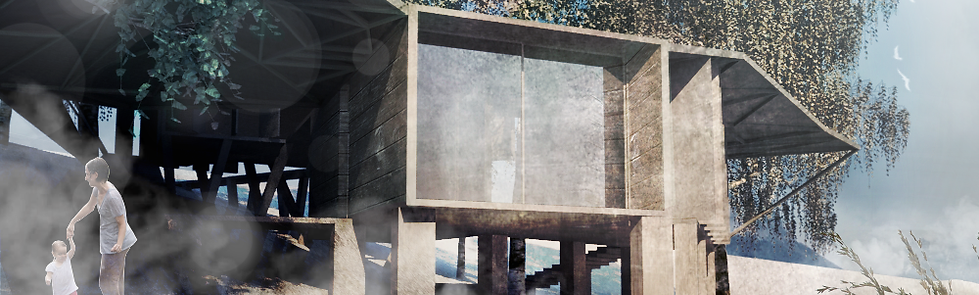
instead of using photoshop for my post-production, paint-tool-SAI was my primary selection because it does not take much RAM like photoshop does but still can acheive what photoshop done.


final rendering + postproduction


